Carbon fiber reinforcement laminate Carbon Fiber Reinforcement Laminate,Fiber Reinforcement Laminate,Fiber Reinforced Laminate,Fiber Reinforced Laminate Panels Jiangyin Phecda New Material Technology Co., Ltd , https://www.phecdacomposite.com
sew + tell: claire’s hollywood trousers
Today, I’m thrilled to introduce you to Claire, who’s visiting us again from the Advisors Circle. If you’ve been following along, you’ll remember her from her previous visit when she shared her stunning Weekend Getaway Blouse with Bias Bound Edges. This time, she’s back with an exciting update on her latest sewing project—Liesl + Co.’s Hollywood Trousers. Let’s hear what she has to say!

**Claire's Introduction:**
Hi everyone! My name is Claire, and you can find me blogging and sharing my creations on Instagram. Today, I’m excited to talk about my recent experience with the Hollywood Trousers pattern by Liesl + Co. I initially tested the pattern with a brown corduroy fabric, and I fell in love with the fit and finish. However, after reflecting on my personal needs, I decided to tweak the design slightly to better suit my lifestyle as a mom of a lively three-year-old. Practicality is key, but I also wanted to maintain a touch of style.
---
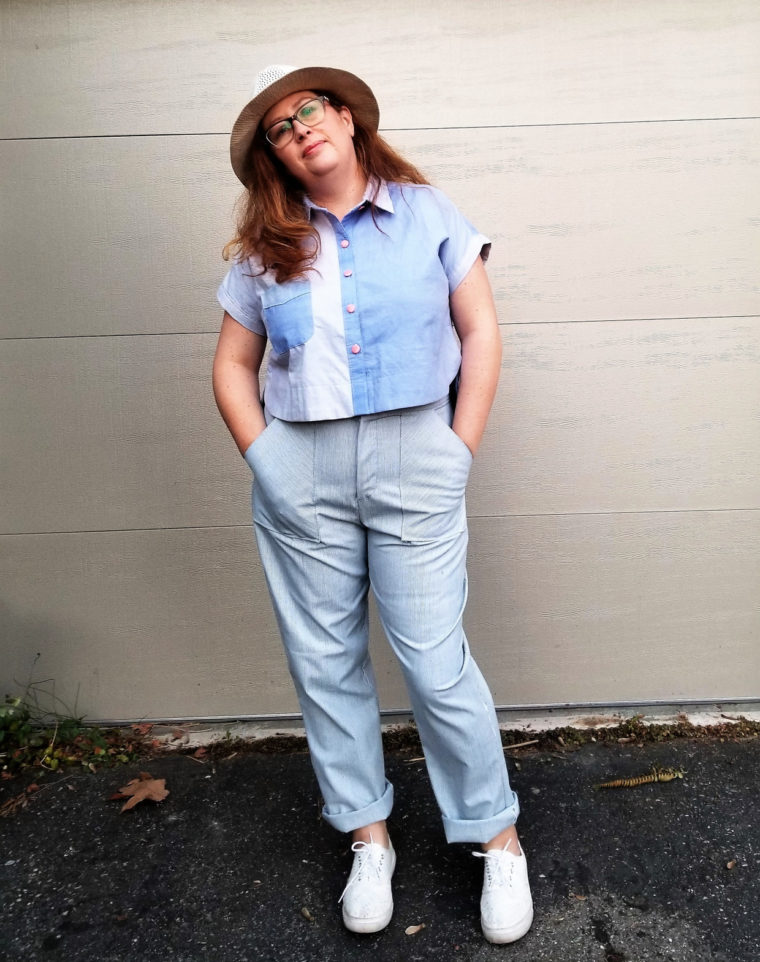
**Fabric Choice:**
For this version, I dug into my fabric stash and pulled out this mysterious twill fabric I picked up at a fabric swap. It’s firm and has minimal drape, which I thought would complement the narrower silhouette perfectly. Unfortunately, this fabric doesn’t photograph well, so take note of the blue stripe in the photo below. To add some visual interest, I decided to cut the front pockets on the bias, creating a nice contrast against the stripes—a subtle nod to the casual vibe I was aiming for.
---
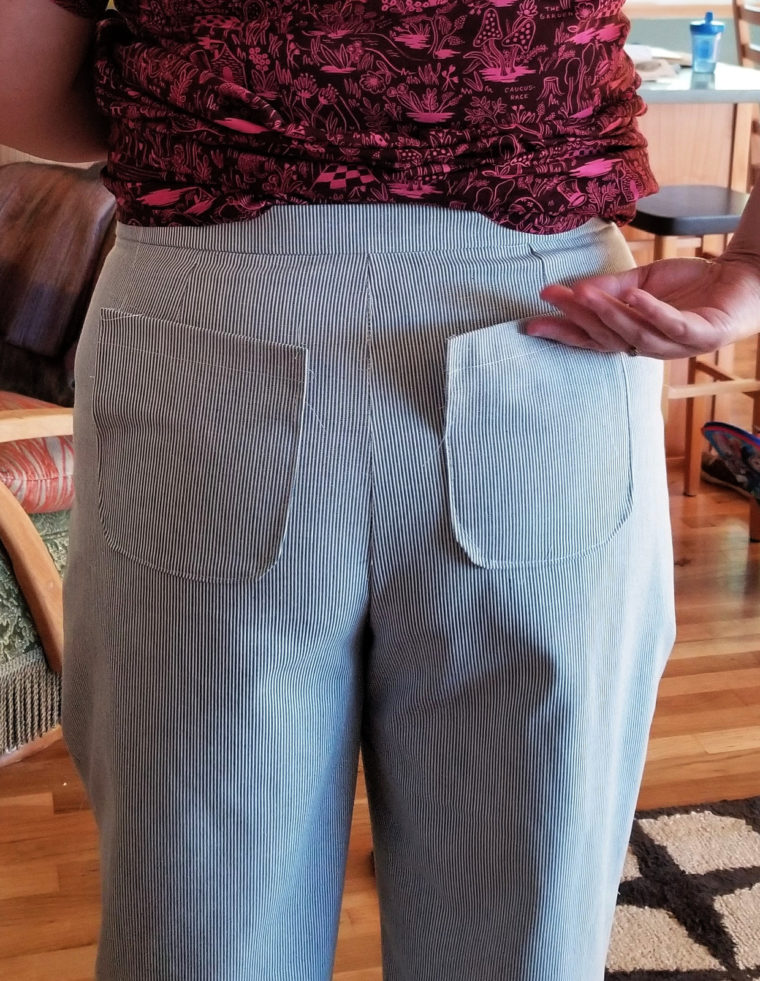
**Pockets Galore:**
As a parent, I know the value of having extra pockets, especially when you’re juggling a toddler! For this version, I swapped out the traditional pocket bags and facings for external patch pockets. Camelia recently shared a fantastic tutorial on creating patch pockets, and while my method wasn’t as scientific, I followed a similar process. I shaped the pockets roughly, adjusted the proportions until satisfied, and then cut two identical pieces.
To finish the edges, I used my serger to prevent fraying and edge-stitched the sides that wouldn’t be enclosed in the side seams or waistband. On the back, I added my favorite patch pocket shape, topstitched the tops, pressed the edges, and secured them with basting stitches. After trying various placements, I finally settled on a position that felt just right for my proportions. Trust me, getting the pocket placement right is crucial—it can make or break the entire look!
---
**Trouser Legs:**
One of the most significant changes I made was narrowing the legs slightly. Following Liesl’s advice, I focused my adjustments around the knees first. By pinning the trousers together early in the process, I was able to tweak the width until I achieved the desired 2-inch reduction on each side. Above the knee, I maintained a relatively straight line to avoid any unwanted flares or tapers. Starting at the hips, I reshaped the legs to match the original pattern while ensuring the overall balance remained intact. It took some trial and error, but the final result feels just right.
---
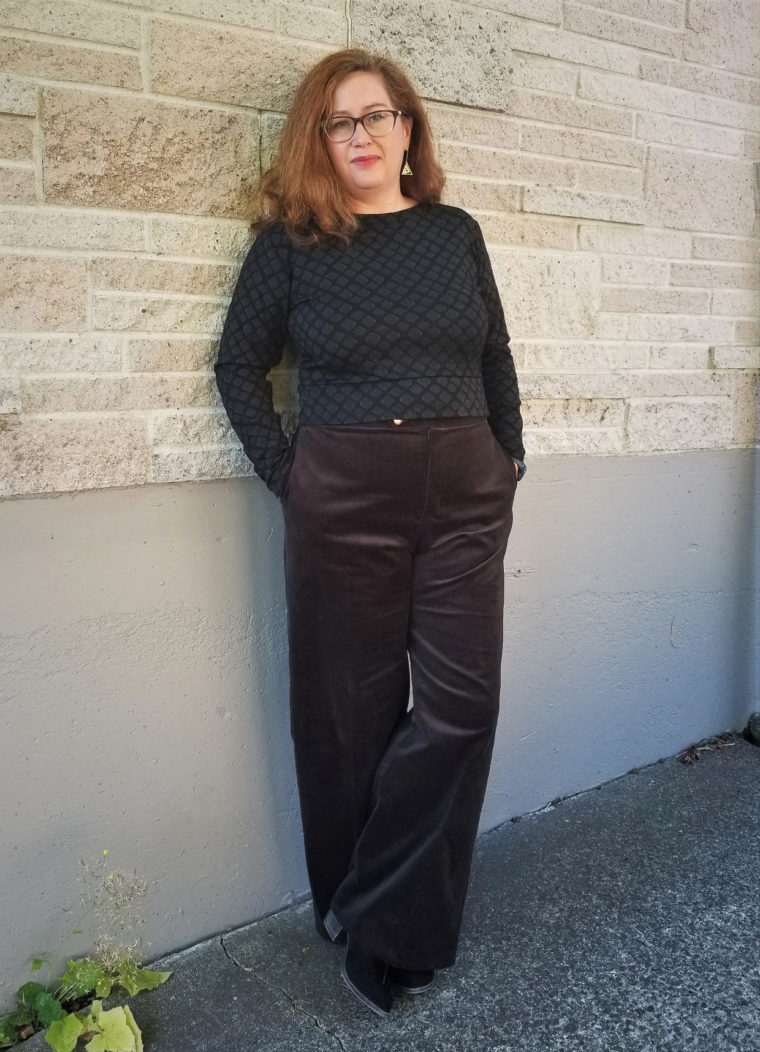
**Styling Tips:**
The versatility of this fabric is one of the reasons I chose it. These trousers can easily transition from a chic date-night ensemble to a laid-back weekend look. With a solid top and heels, they exude elegance, while rolling up the hems gives them a more casual, modern vibe. Even in cooler weather, these trousers are thick enough to keep me cozy under a sweater or jacket. Whether you’re dressing up or down, these trousers have got you covered!
---
**Final Thoughts:**
This project was such a blast, and I’m amazed at how small adjustments and a fresh fabric choice can transform a garment. The Hollywood Trousers pattern is incredibly versatile, and I can’t wait to see all the creative variations the sewing community will come up with next. Sewing has taught me that it’s all about finding what works best for you and your lifestyle. Happy sewing, everyone!
If you enjoyed this post, don’t forget to check out more projects and tutorials on my blog and Instagram. Until next time, happy crafting!